Gripper Assembly
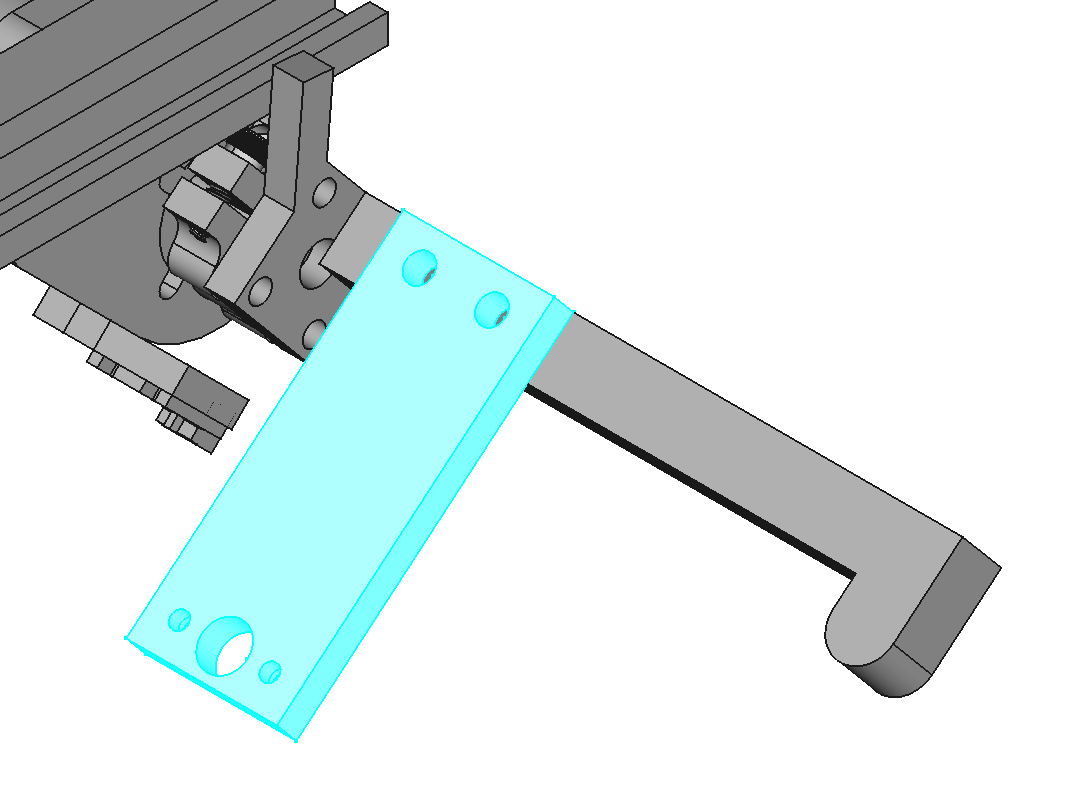
Add Heat-Set Inserts to Fixed Gripper
The fixed gripper needs 2 M4 heat-set inserts for mounting the gripper motor bracket.

Mount Fixed Gripper on Hub J3
Use #6x0.5 screws to mount the fixed gripper on hub J3. Use thread locker on the screws.
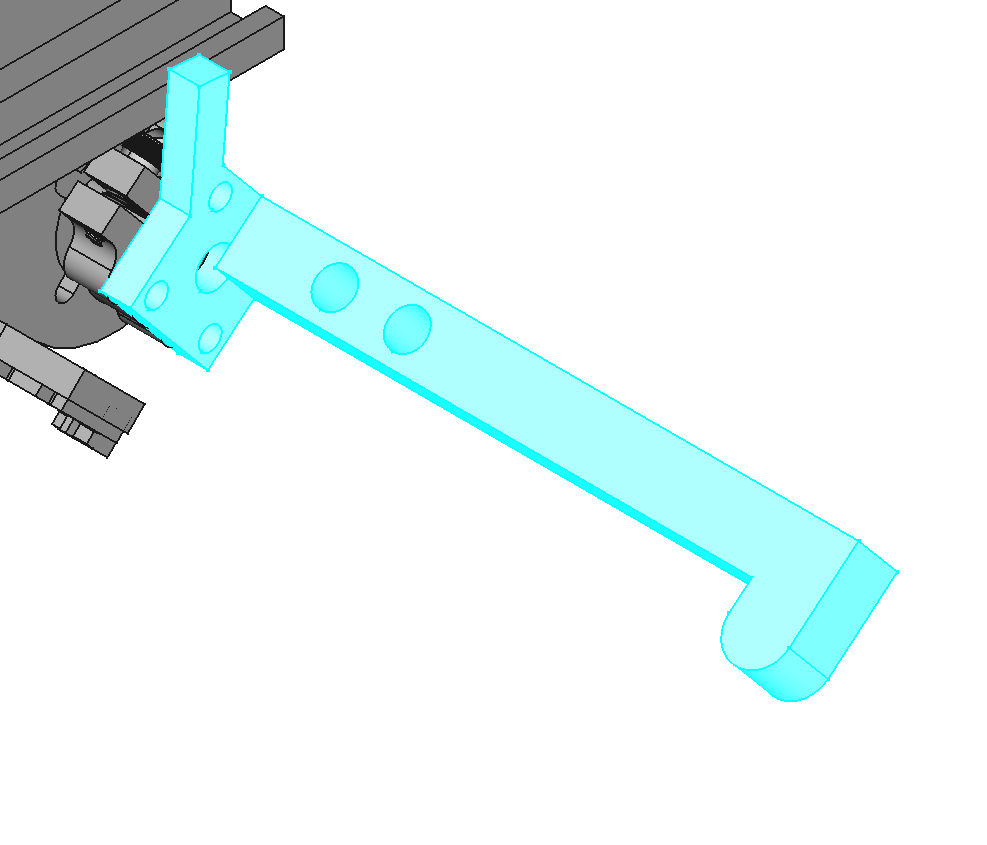
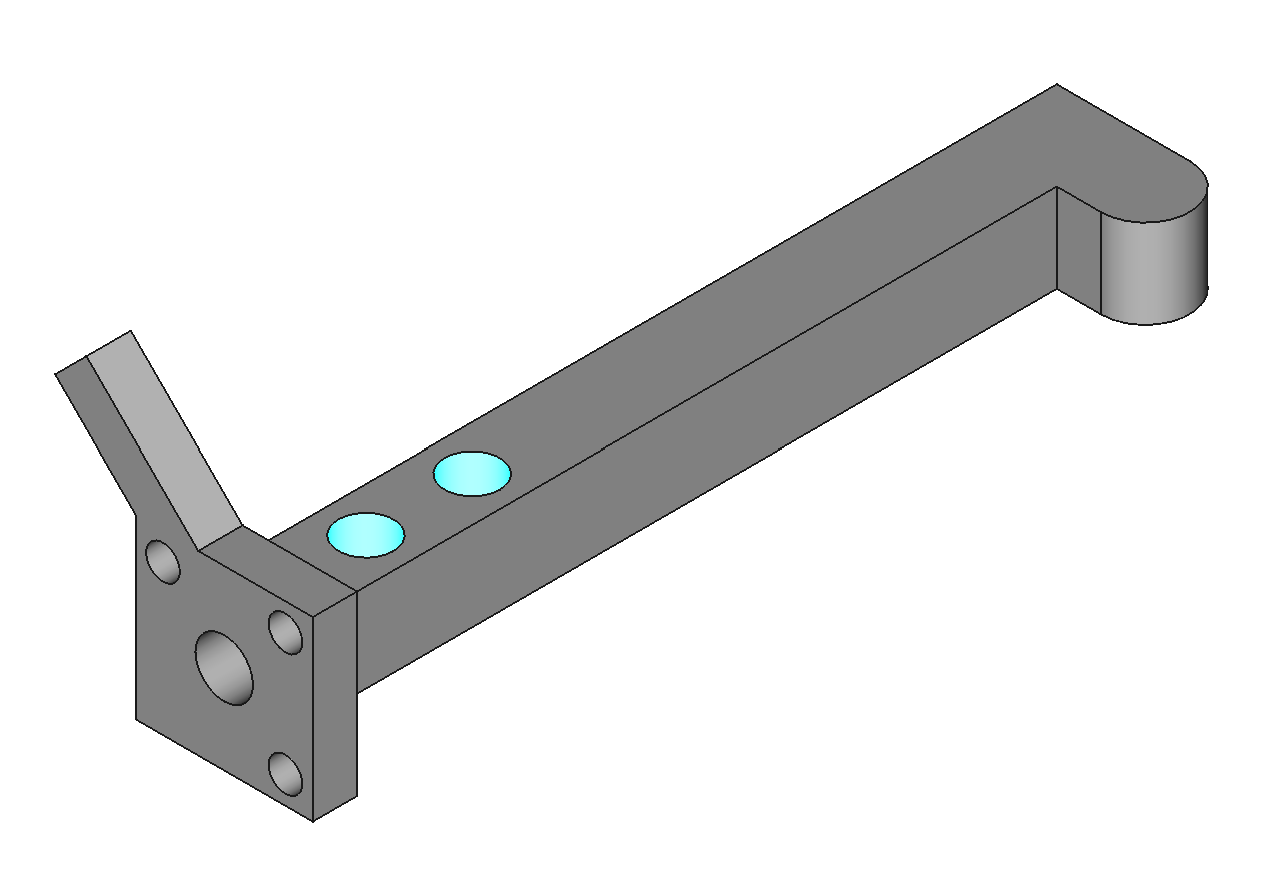
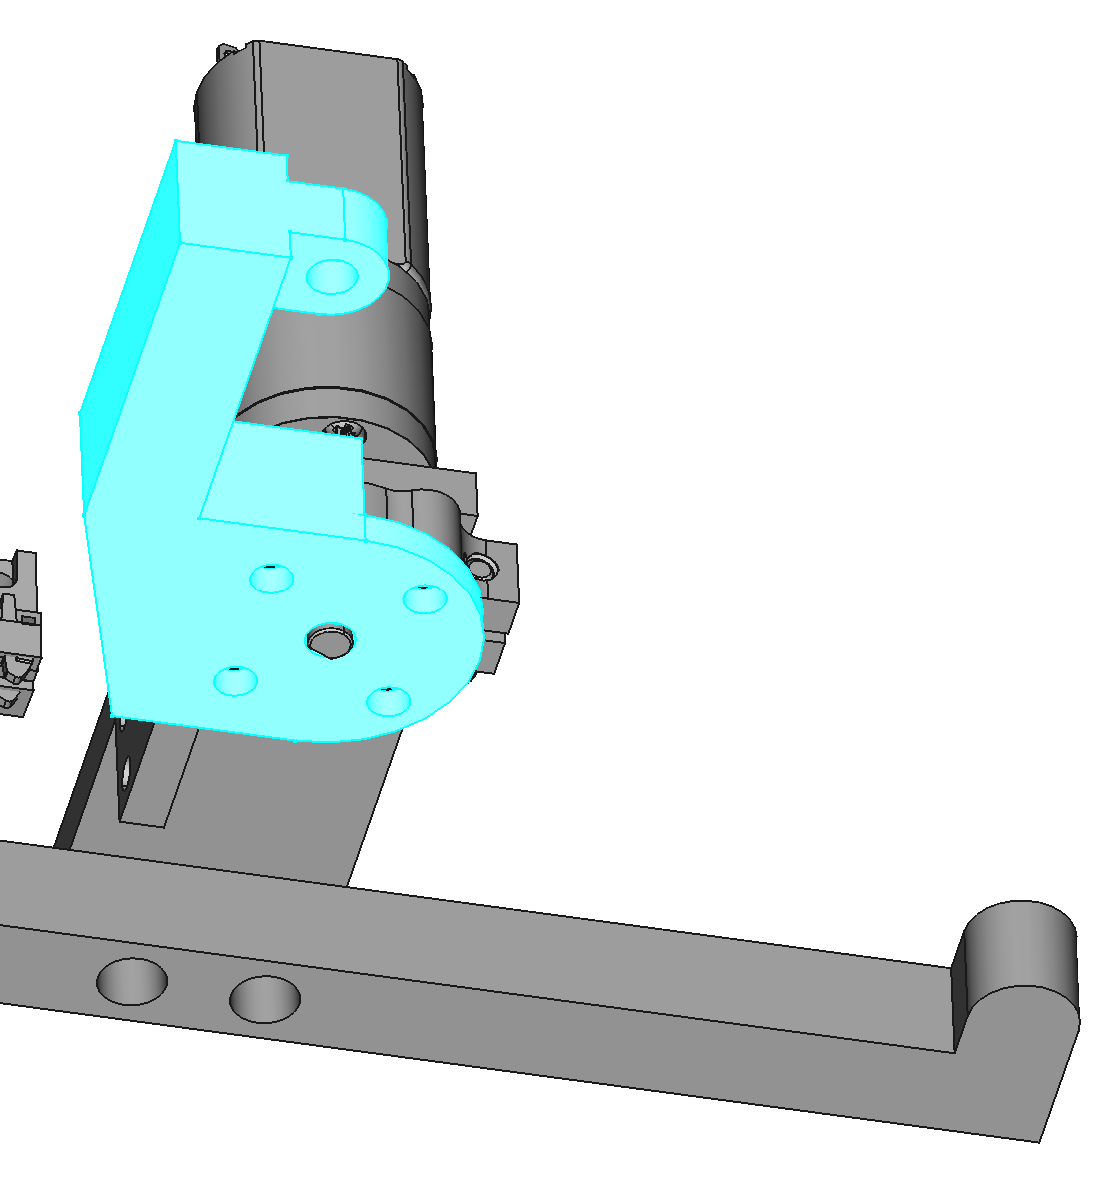
Attach Gripper Motor Bracket to Fixed Gripper
Use 2 M4x8 screws to attach the gripper motor bracket to the fixed gripper. Apply thread locker to the screws.
Mount Gripper Motor to Bracket
Use 2 M2.5x8 screws. Apply threadlocker to the screws.
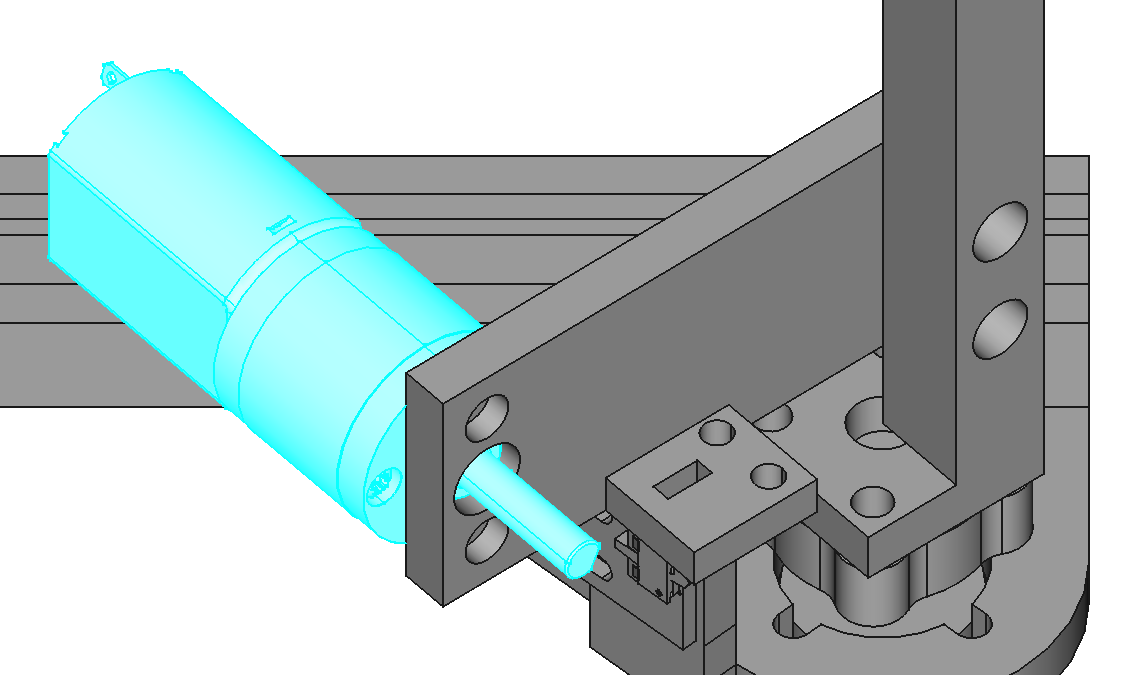
Attach Hub to Gripper Motor
Minimize the gap between the hub and the gripper motor bracket. Use threadlocker on the hub clamping screw.
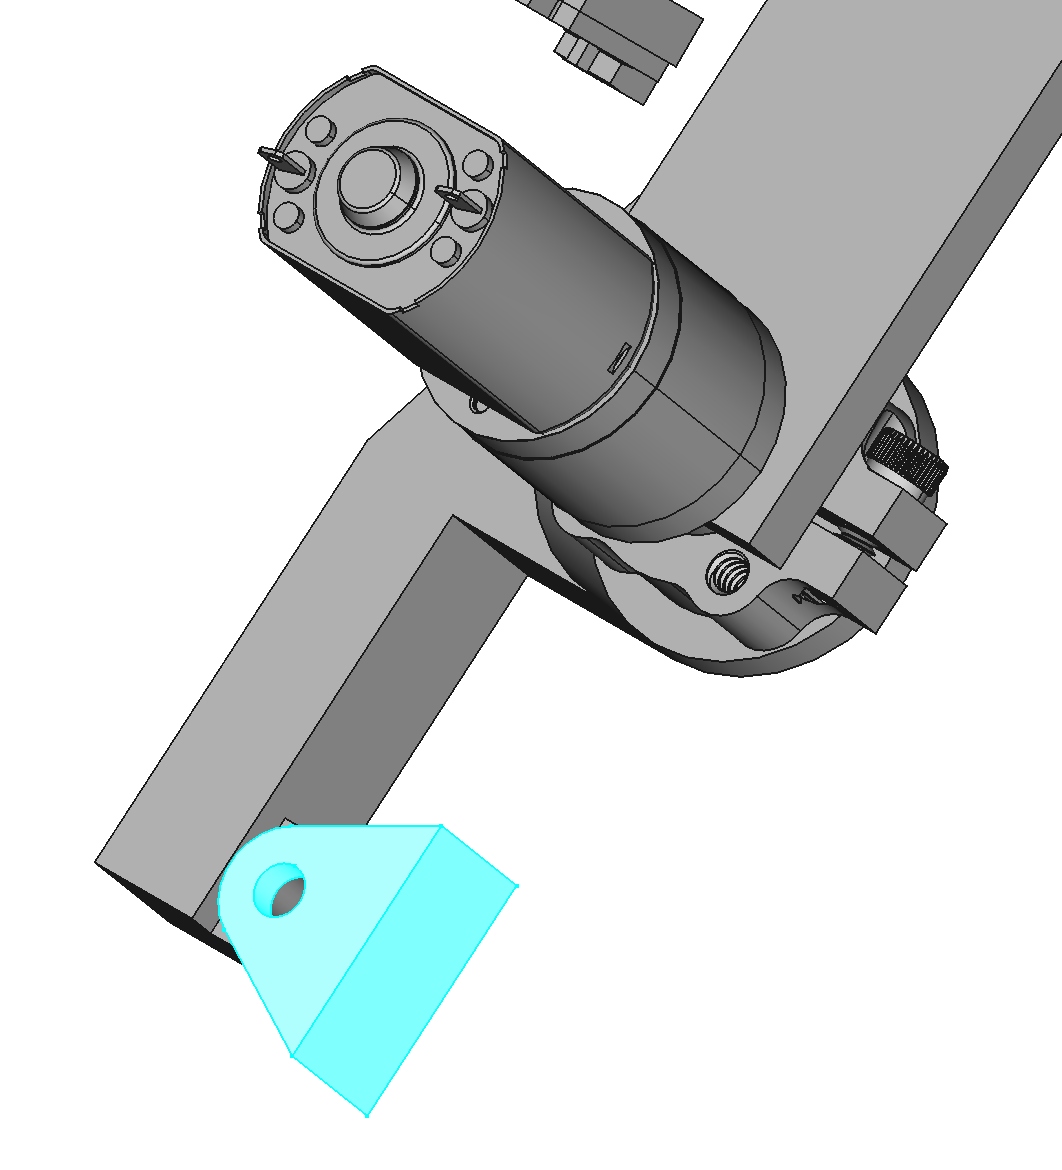
Attach Mobile Gripper to Hub
Use #6x0.5" screws to attach the mobile gripper to the hub. Apply thread locker to the screws.
Attach Fingertip to Mobile Gripper
Use an M4x16 button head screw and nylon lock nut to attach the fingertip to the mobile gripper. Leave the nut loose enough for the fingertip to rotate.

Mount Home Switch to Gripper Motor Bracket
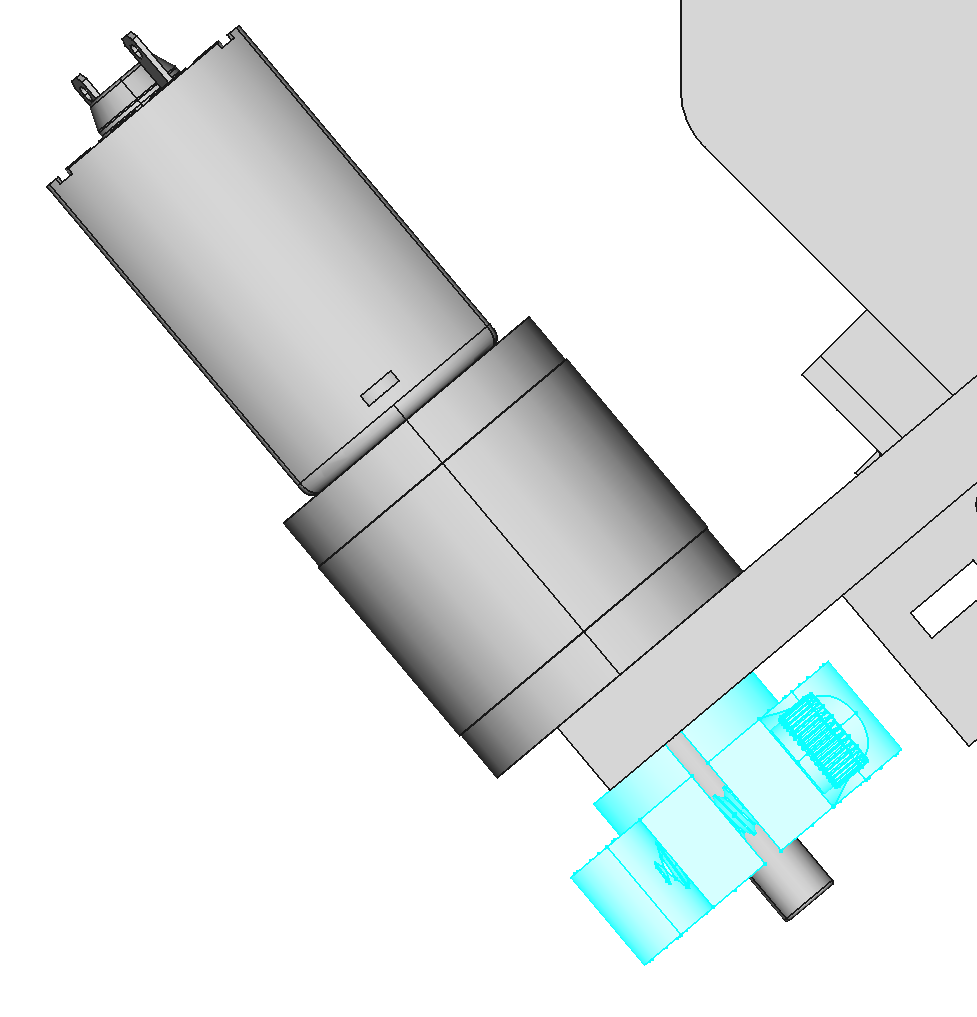
Use M2x5 screws to mount home switch variation B to the gripper motor bracket (PCBA-HOME-B-1.0). The gripper doesn't have an encoder, so this home switch is just a gripper open sensor.
